The IVF process, simplified

The IVF process, simplified
Taking the first steps on your IVF journey can feel overwhelming, as is understanding the IVF process from start to finish. From your initial tests and consultation to finding out if a round has been successful, we know there’s a lot to get your head around.
To help you understand exactly what happens during IVF treatment, we’ve created a simple step-by-step guide to explain the IVF process for a fresh round.
How long does IVF treatment take?
A fresh round of IVF typically takes around five weeks from start to finish. However, the stimulation and egg retrieval phase is usually around two weeks.
Other IVF routes can take more or less time. For example, if you’re using a frozen embryo or eggs, the round will be shorter, and if you’re using a donor egg, it could be longer.
Many people go through several rounds of IVF before having a child, so your overall IVF journey might take a number of months.
Preparing for your IVF treatment process: Data collection
If you’re entering your IVF journey as a couple, where either one or both of you are using your own eggs and/or sperm, there are a number of tests you’ll need to do before starting a round. These tests are also necessary if you’re going through IVF as a single person.
These often include…
Blood tests - These will give a clearer picture of ovarian reserve and overall health.
Semen analysis - This measures the concentration, movement, and shape of sperm.
Uterine evaluation - A pelvic ultrasound scan, often accompanied by an HSG (hysterosalpingogram), is done to evaluate the uterus and make sure the fallopian tubes aren’t blocked.
Once these tests are complete, you’ll have a consultation with your doctor to go through your results. This is a good time to ask questions and raise any concerns you might have about your upcoming IVF treatment.
IVF Stage 1: Ovarian stimulation
The first step of an IVF round is a process called stimulation. This stage can take two to three weeks.
During this time, you'll give yourself daily injections, which are typically a combination of two hormones: follicle-stimulating hormone (FSH) and luteinizing hormone (LH). These two hormones stimulate the growth of the follicles, and the development of the eggs inside.
You’ll also inject yourself with a hormone called gonadotrophin-releasing hormone (GnRH) analogues. This blocks the natural production of follicle-stimulating hormone (FSH) and luteinizing hormone (LH) to make sure your eggs don’t mature and aren’t released. This is so they can be collected in the next phase of the IVF process.
Injecting yourself with hormones every day can feel intimidating. If you find it difficult, it might be helpful for you to ask someone you trust to inject you instead — or, for a fee, some nurses are willing to travel to your home and help you inject yourself safely and correctly.
Monitoring appointments and trigger shot(s)
In most cases, you’ll have regular blood tests and ultrasound appointments to monitor your response to the medications: follicle growth and rising estrogen levels.
When your follicles are large enough (typically 17-22mm, depending on your protocol and doctor’s recommendations), you’ll be instructed to administer your “trigger shot(s)” at a specific time, and it’s important to take it right at the time you’re instructed. HCG (human chorionic gonadotropin) and lupron (leuprolide acetate) are two commonly used trigger shots.
These medications induce the process of ovulation, which is essential for egg maturation before your egg retrieval. Your egg retrieval will be scheduled 35-37 hours after this injection, which is why this injection is given at a specific time, so it will correlate with your procedure time.
All of these injections can cause abdominal bloating, skin irritation, and mood swings, making this a particularly tough stage in the process. Having your support network around you, whether that be a partner, family or friends, can help you feel like you're all going through these important first weeks together.
IVF Stage 2: Egg retrieval and sperm collection
The next step of the IVF process is fairly quick – egg and sperm retrieval!
Egg retrieval
The egg retrieval procedure usually takes around 15 to 20 minutes. You’ll be sedated during the procedure, so you won’t feel a thing. In some cases, the doctor you’ve seen for monitoring will be the same person who completes your egg retrieval, but it depends on your clinic.
Here’s how the procedure will go:
Preparation: Your clinic will assign you a specific arrival time. When you arrive, a nurse will welcome you and escort you to the back, where you’ll change into a hospital gown and store your belongings. You’ll confirm your personal information and speak to an anesthesiologist about any allergies and any past reactions to anesthesia. Then, you’ll be escorted to a surgical room, where you’ll confirm your personal information with an embryologist, meet the doctor and support staff, and lie down on a hospital bed. You’ll be given an IV sedative for the duration of the procedure.
Procedure: After completing a vaginal cleansing prep, the doctor performing the procedure will insert a transvaginal ultrasound probe (just like the one you saw each morning during monitoring!) to assess the ovaries and uterus. Next, the doctor will slide a thin needle along the ultrasound probe that will go through the vaginal wall, directly to the ovary. The tip of the needle will puncture the follicle, and the fluid will be drained into a tube. They’ll repeat this until each visible follicle is drained, because the microscopic eggs are inside the follicular fluid. The doctor will pass the fluid to the embryologist to evaluate, and the embryologist will empty the tubes into a petri dish to count the number of mature eggs collected.
Once the procedure is complete, you’ll be taken to the recovery room to rest for about an hour. In most cases, your doctor will be able to tell you the number of eggs retrieved before you leave the office.
Sperm collection: Semen samples are prepared the day of the egg retrieval so that they can be used to fertilize the collected eggs. Semen can either be produced fresh by your partner, or frozen from either your partner or a donor. In some cases, when there is very little or no sperm seen in the ejaculate, a urologist can surgically retrieve sperm before the egg retrieval.
Helpful to know: If you’ve frozen eggs or sperm in the past, or are using a donor, you don’t need to go through stimulation and retrieval/collection again. Your IVF round would begin at Stage 3, egg fertilization.
IVF Stage 3: Egg fertilization
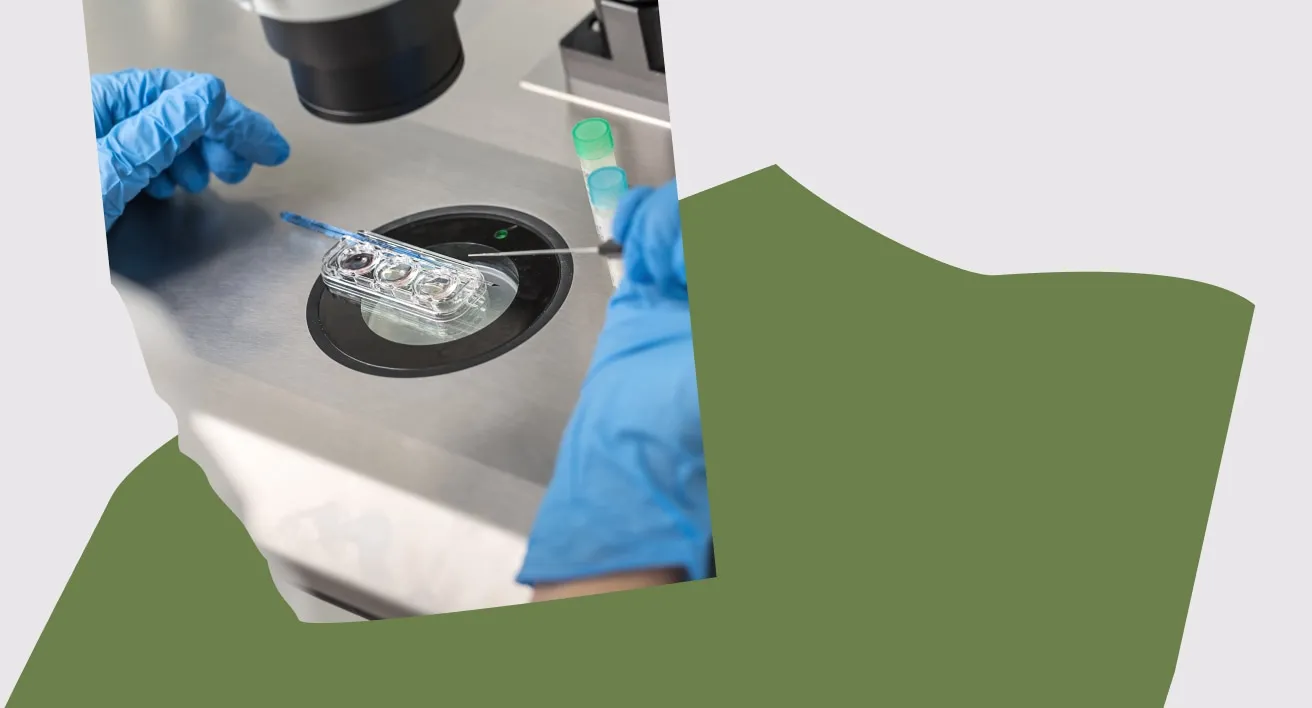
First, an embryologist will separate the mature eggs into individual petri dishes. Then, they’ll add a droplet containing thousands of sperm to each dish to start the fertilization process.
If the sperm is low quality, your doctor may recommend intracytoplasmic sperm injection (ICSI), which is when an embryologist injects a single sperm directly into each egg to increase the chances of fertilization. It’s important to know that ICSI is often treated as an “add-on” by most clinics, so there will be an additional cost.
In most cases, only one fertilized embryo will be transferred in any round of IVF. There are exceptions, but the more we learn, the more doctors prefer to transfer one embryo at a time.
Helpful to know: If you create multiple healthy embryos, they can be frozen after growing in the lab for five days. Frozen embryos can be used in future transfers and allow you to skip Stages 1 to 3 if you need to start a new IVF round.
IVF Stage 4: Embryo transfer
The end of your round is in sight! The final stage is to transfer an embryo into the uterus after successful fertilization. Your doctor will recommend a Day 3 or Day 5 transfer depending on the quality of the embryos:
Day 3 transfer
If an embryo is lower quality, it may be transferred to the uterus on day three to decrease the “stress” of it being in lab conditions.
Day 5 transfer
A five-day-old embryo is called a blastocyst. If an embryo has survived for five days in the lab, it will be more developed than a Day 3 embryo. More development makes it easier for the embryologist to choose an embryo that’s more likely to implant in the uterus, increasing your chances of success.
The transfer process
Embryo transfer is a simple procedure that only takes a few minutes.
An embryologist will draw the embryo into a thin catheter, and your doctor will insert the catheter and inject the embryo into your uterus. That’s it!
In the two weeks following your embryo transfer, you’ll take medication to keep your progesterone levels elevated, usually in the form of hCG injections or vaginal progesterone gel or pessaries. Higher progesterone levels will give the embryo a chance to implant and temporarily stop your period.
IVF Stage 5: Pregnancy test and follow-up
After what will feel like the longest wait, it’s finally time to find out if your round of IVF has been successful.
Depending on the tests offered by your clinic, you can take a urine test at home, or go in for a blood test to find out if you’re pregnant.
Two weeks after a positive pregnancy test, you’ll be invited to your clinic for an ultrasound scan. This will check that everything is as it should be and that there’s a fetal heartbeat. If all goes well, your IVF clinic will refer you to an OB/GYN, where you can carry out your pregnancy to term.


